Guest Room Update: Painting Is DONE!
/This post contains affiliate links.

Well guys… it took me over 2 months but the guest room painting project is DONE! Yes, done! And in perfect time because my parents plan to visit in less than a week—yay! I haven’t seen them since Christmas and with Covid-19, I wasn’t sure it would happen any time soon.
Although the guest room is nowhere near done, this was a big step in the right direction. I also have a new-found appreciation for professional painters because I don’t know how they do it. Painting the door alone got me thinking about investing in a paint sprayer (especially since I have to do ALL of the doors on the second floor eventually).
Anyways… let’s step back and look at what the room looked like before…
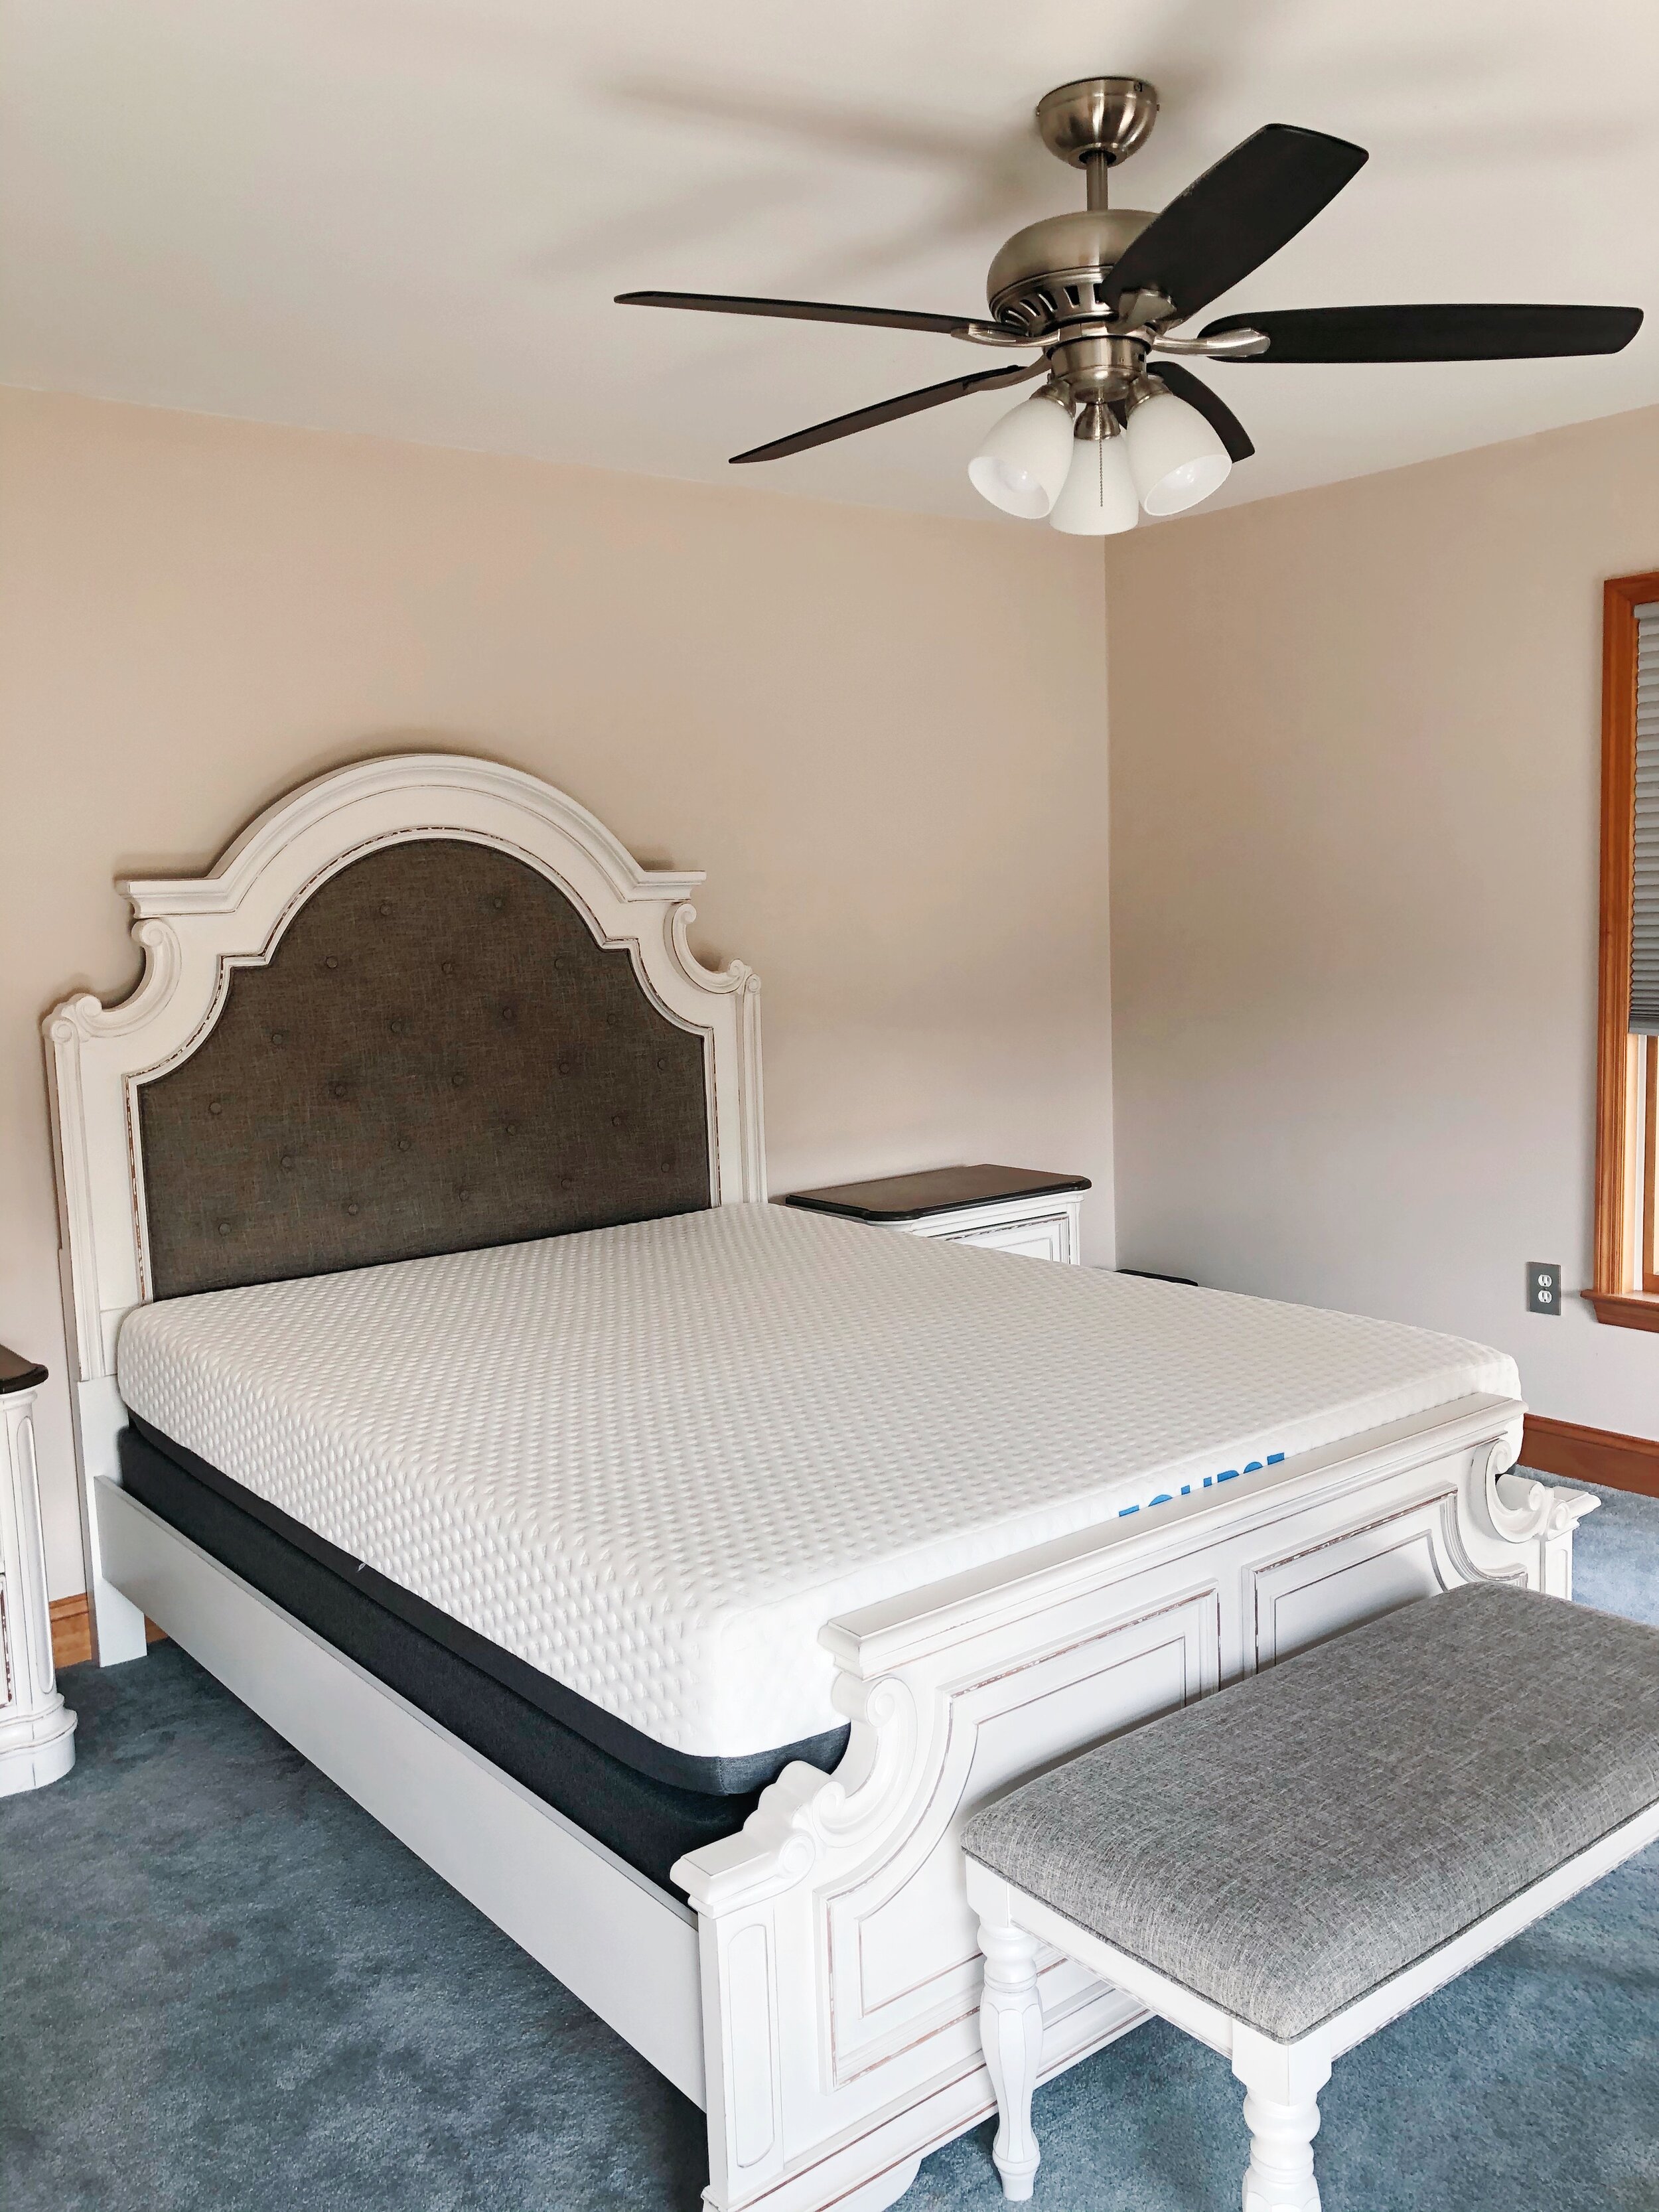
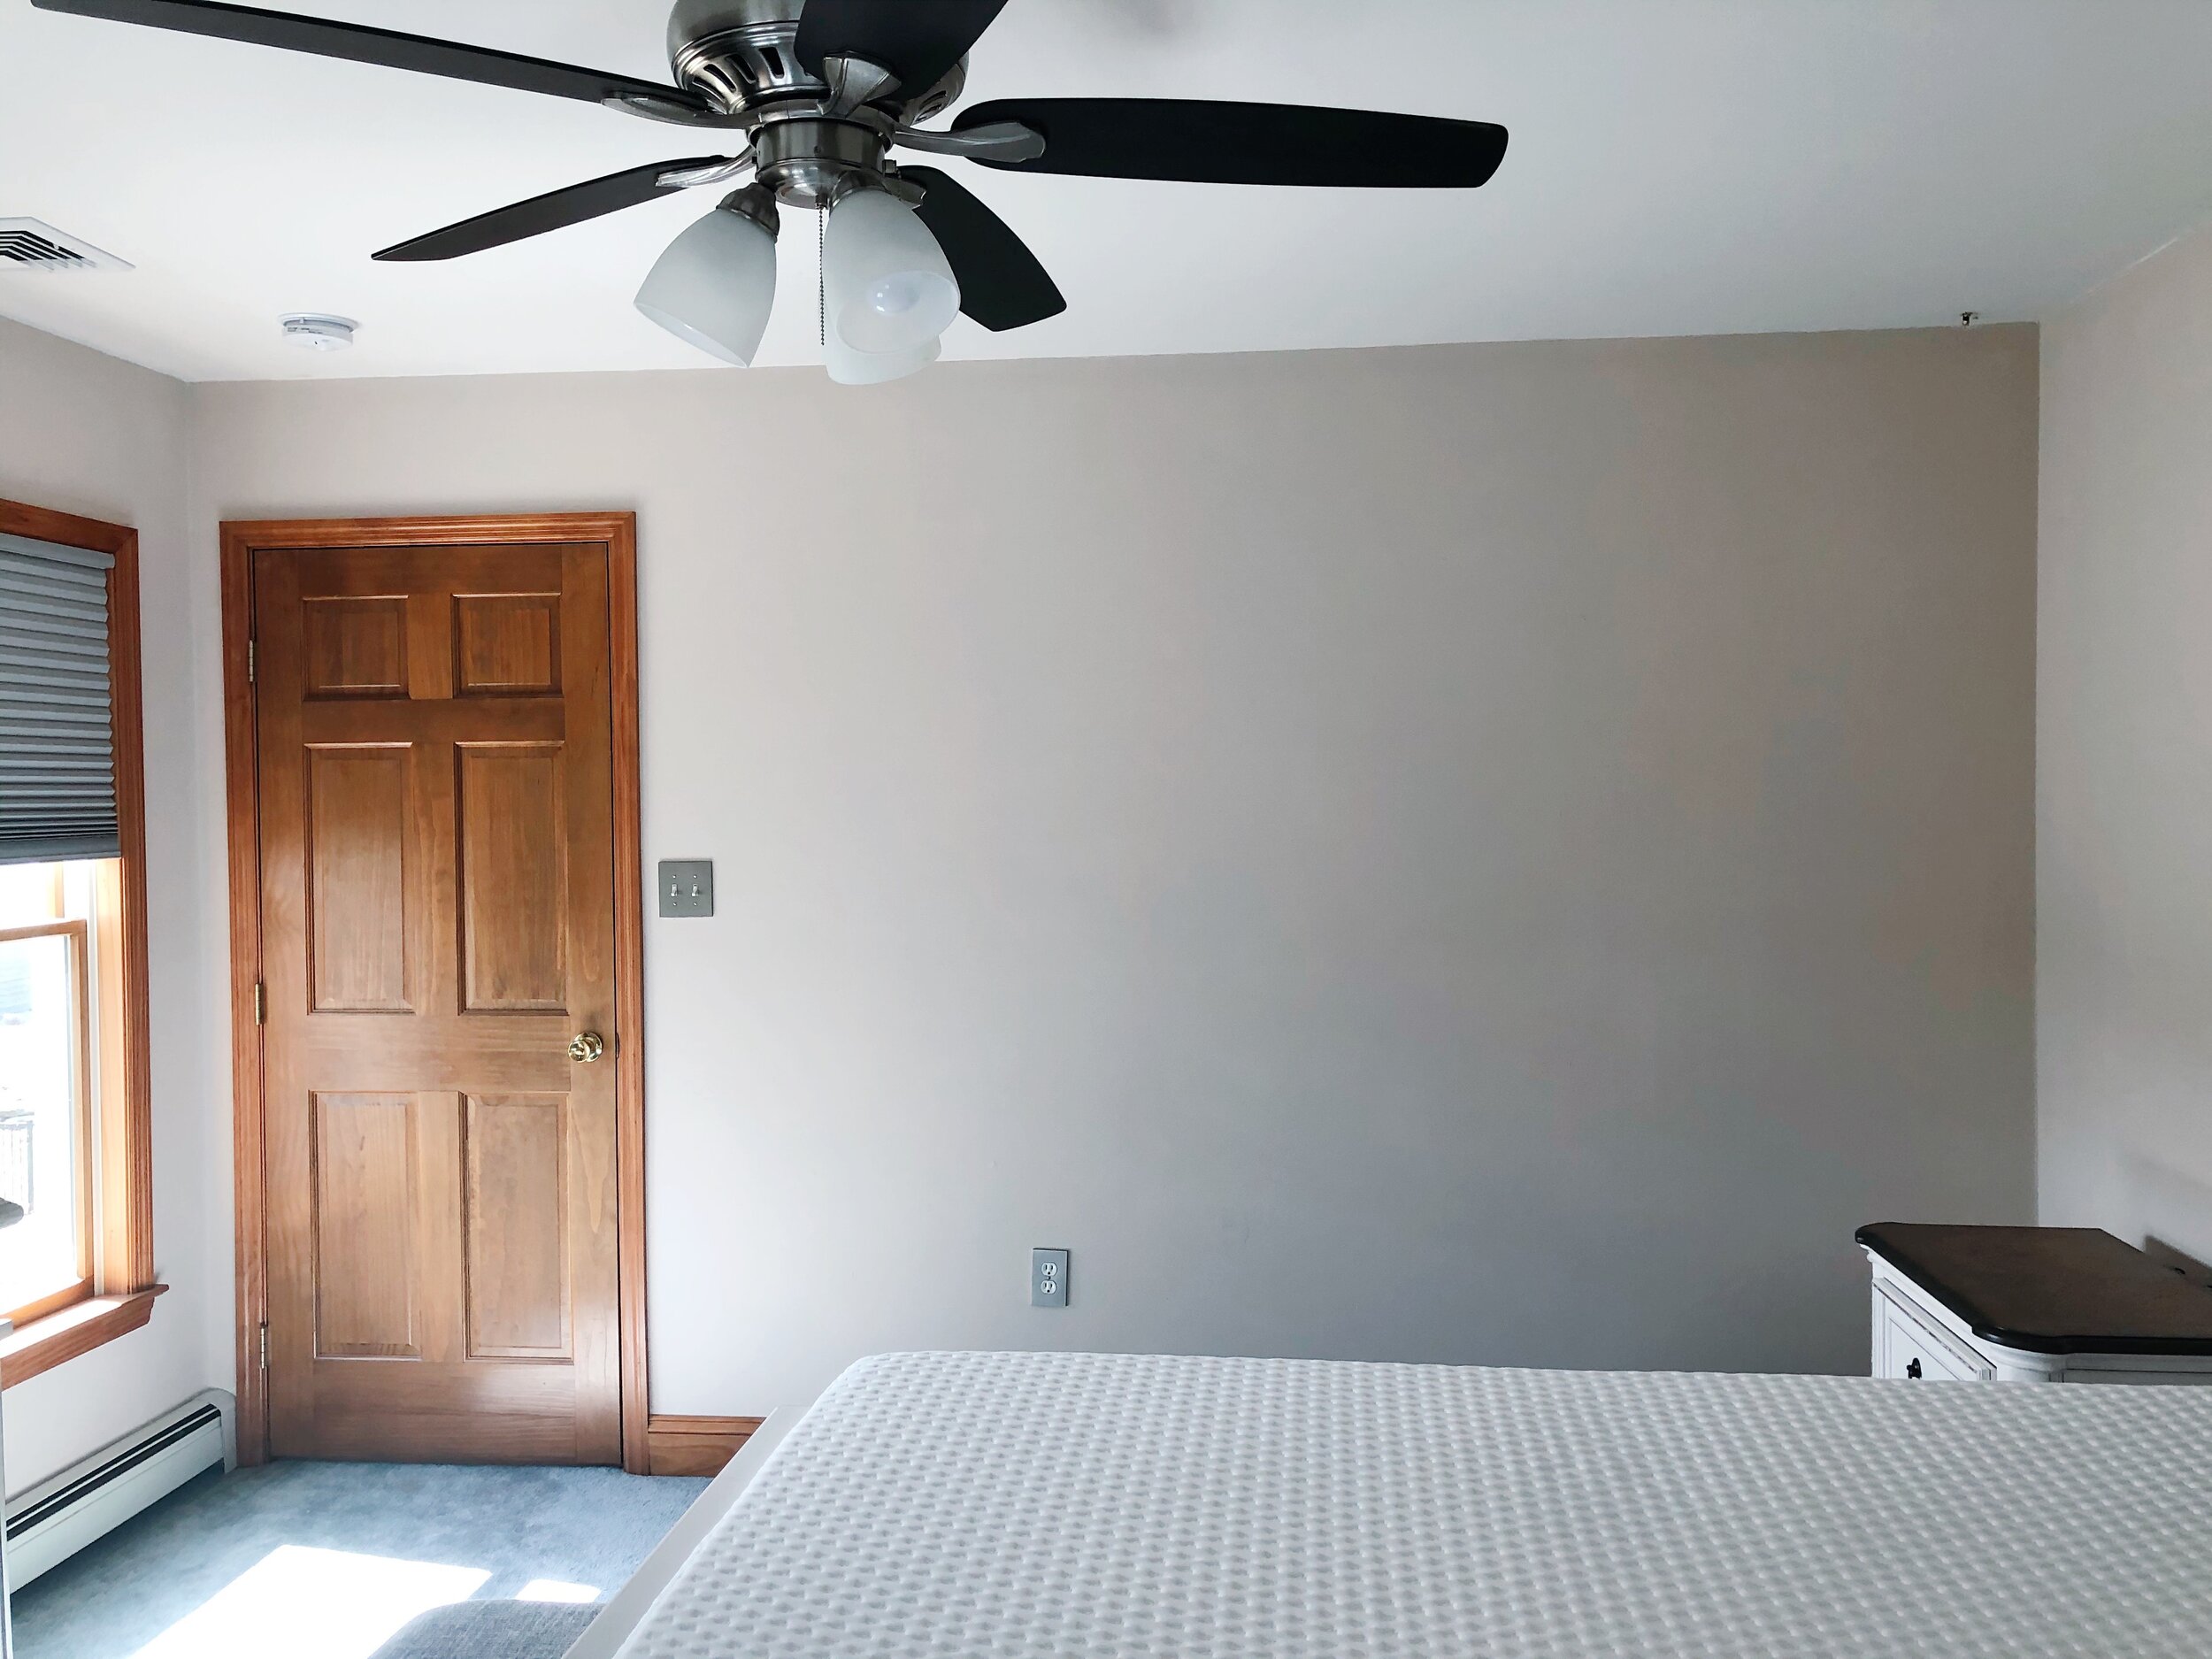
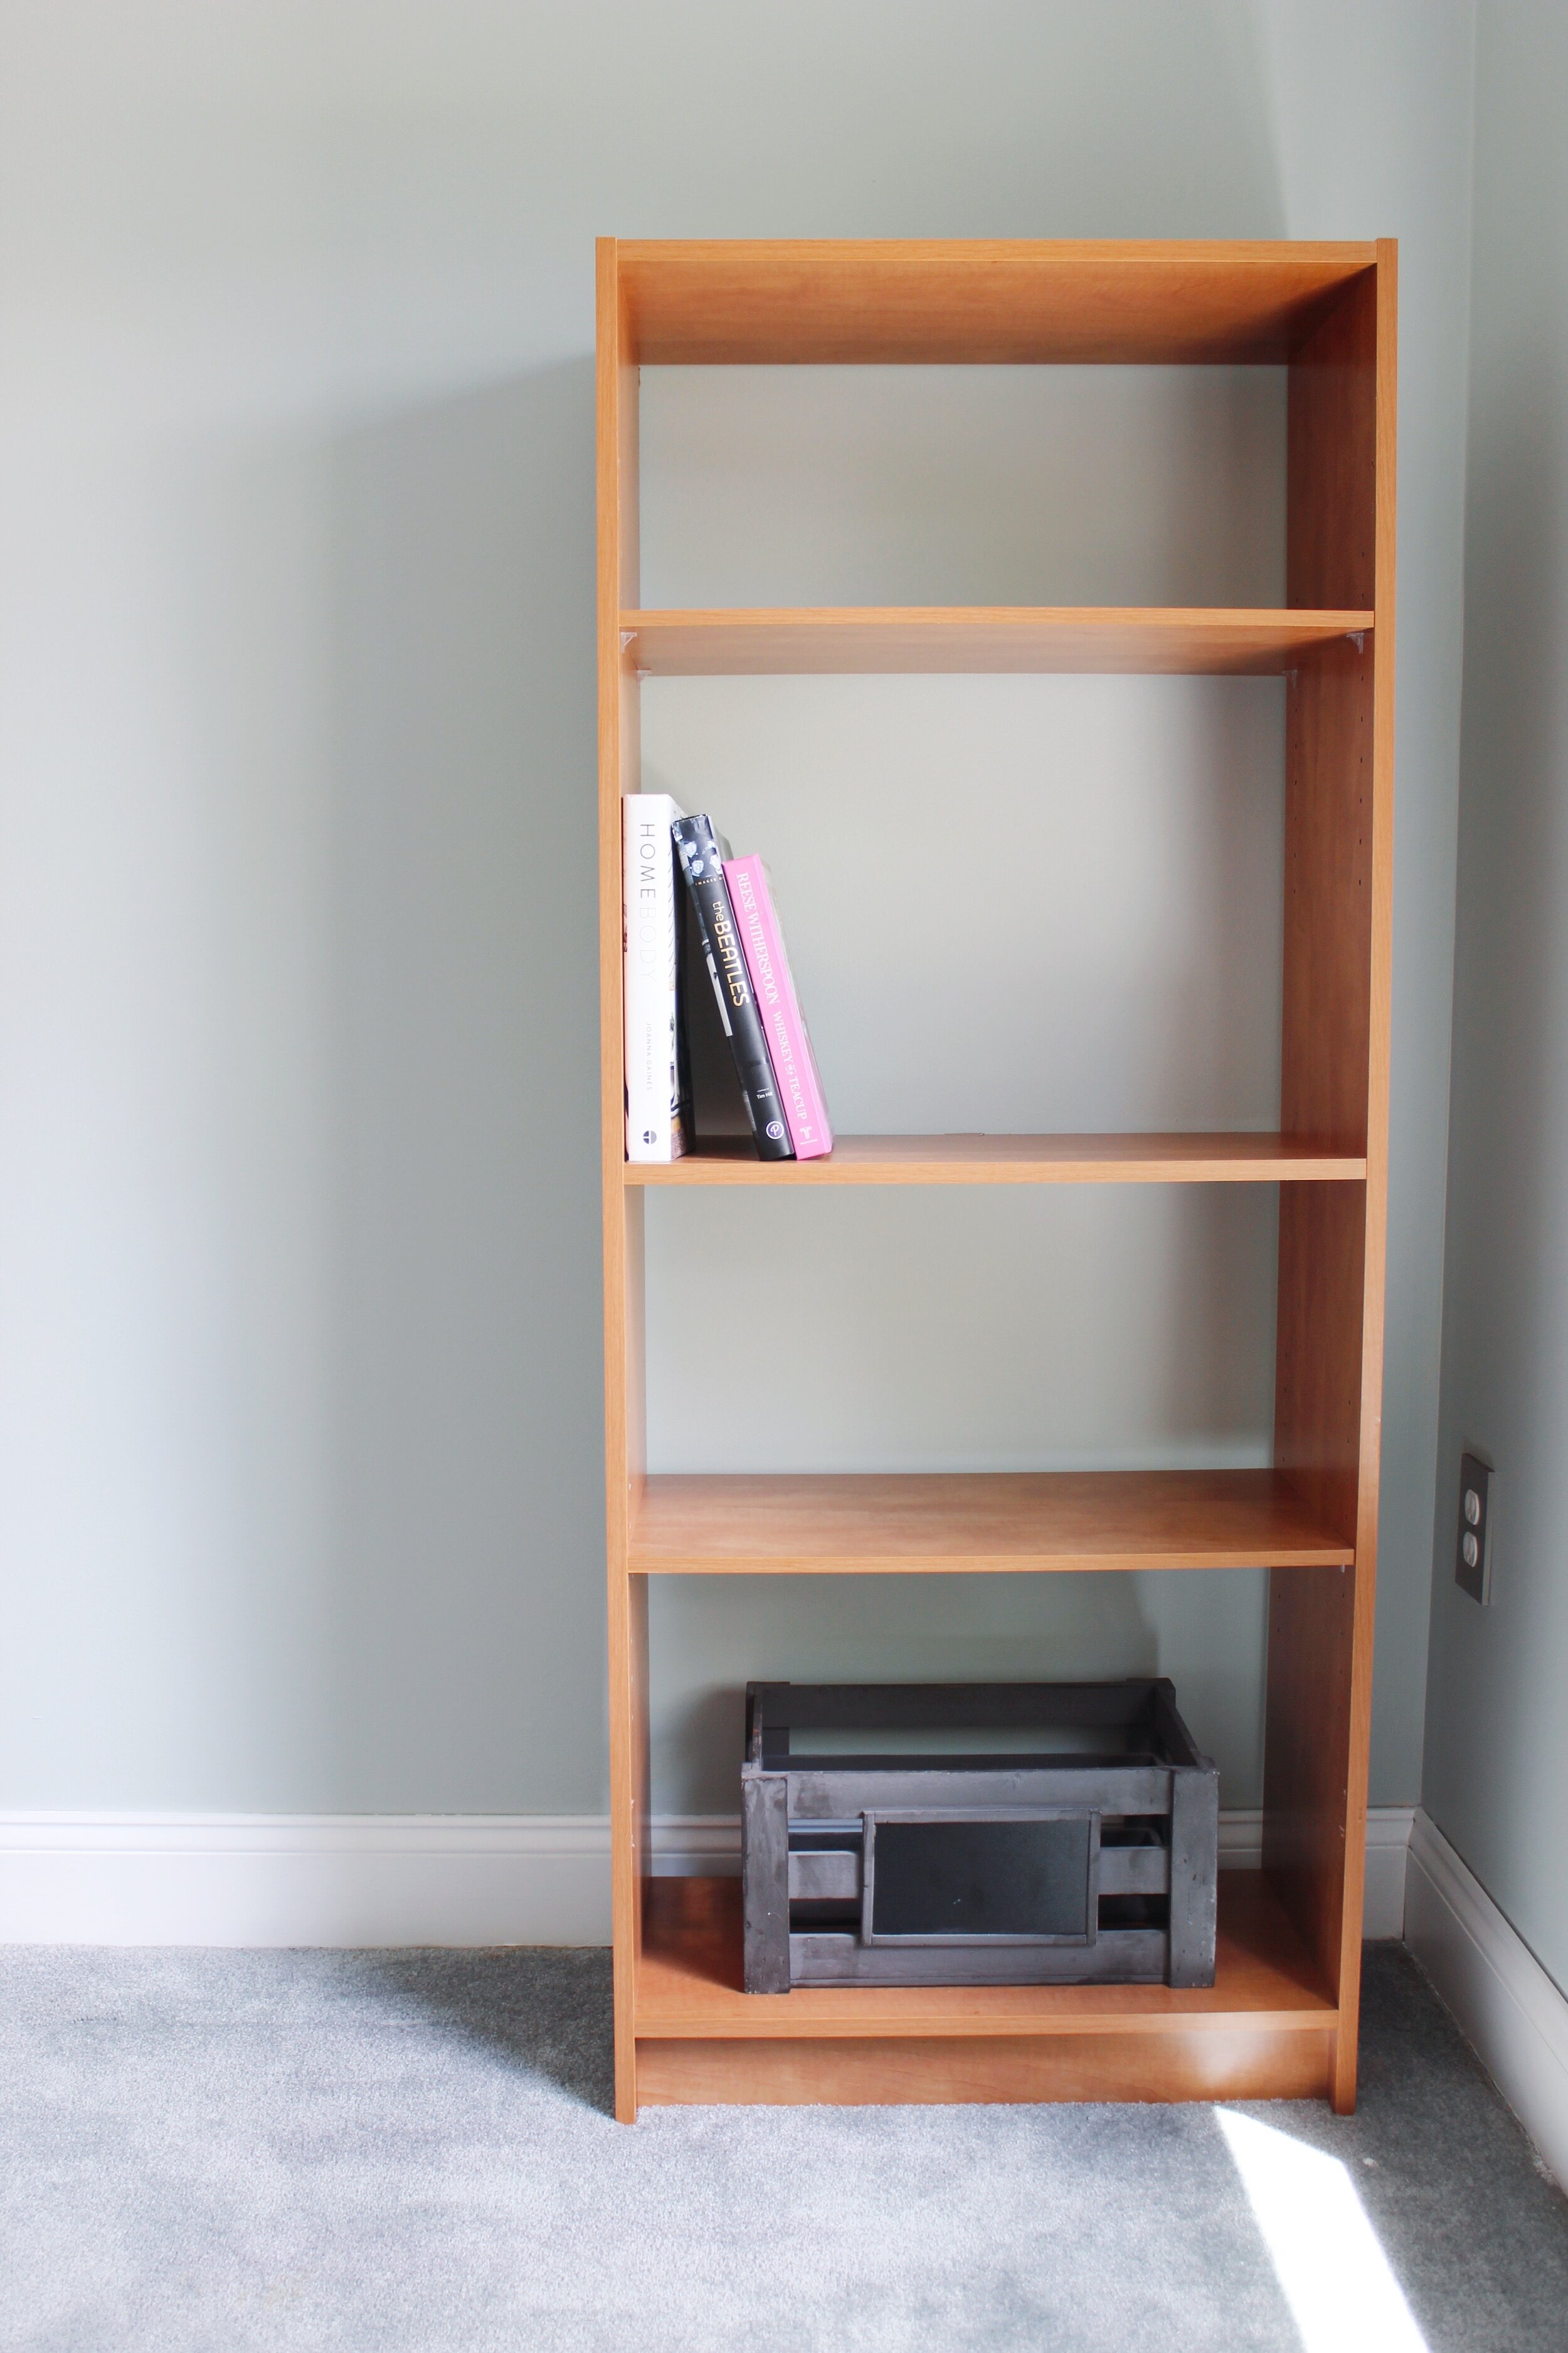
As I’ve said in previous posts, when we purchased this house, it came 80% furnished. Minus the wooden closet organizer (pictured below as a bookcase), none of the furniture in this room was originally ours. We kept it though and it inspired the room’s coastal farmhouse “theme.” I’ll most likely start switching out the furniture to a more modern look one day, but that won’t be today! We’re very lucky to have the furniture we have.
As you can see, before the room was a little bland. I felt the furniture blended in with the walls and overall it was just boring. We’ve never had a proper guest room, and my goal with this space is to make it as welcoming as possible. Our last guest room was also our office… and then Ellie’s nursery, so we felt like we were always invading our guests’ space rather than the room just being “their room” for the visit.
So, first step: PAINT!

For this room we used Sherwin-Williams Sea Salt (eggshell) on the walls and Sherwin-Williams Extra White (semi-gloss) for the trim and door. I’ve wanted to use Sea Salt in a room for over 2 years—I think I’ve saved it on my Pinterest board at least 3 times by mistake so that was sign #1 (btw you can follow me here!). I love it so much, I plan to use it on another fun project in the near future (stay tuned!).
It really brightened up the space—especially the white trim. I will say my big mistake with this room was not doing the trim first. I didn’t realize how much of an undertaking it is, so if you’re in the same situation, do the trim first! Also, be prepared to do 3+ coats. My hand is still cramping but the end result is sooooo worth it!


I also want to share a quick tip for painting trim with carpet:
Although we plan to replace this carpet sometime next year, I didn’t want to live with a ton of sloppy paint streaks on it in the meantime. So, my trick:
Take a thin plastic drop cloth, fold, and lay flat on the floor against your trim. I only cut about 3-4 feet and try to reuse throughout the room to save on plastic/waste.
Using a wide taping knife (or something similar), push the plastic drop cloth down and under the trim.
Paint the trim!
On the last coat, pull the plastic drop cloth out and use this coat to fix any flaws (the plastic will sometimes bunch or stick. It’s not a perfect science).
(A walk-through of this trick is available on my IG Highlights linked at the end of this post!)
What’s left to do…
Minor touch-ups.
Change out the blinds. This will be a whole house project one day and we will most likely go with these.
Hang curtains.
Add some pictures and decor! (Can Homegoods open soon, please?)
Ok, now I just need some decor ideas—share some in the comments pretty, pretty please!
CHECK OUT MY INSTAGRAM GUEST ROOM HIGHLIGHT FOR JOURNEY + UPDATES >>
-J